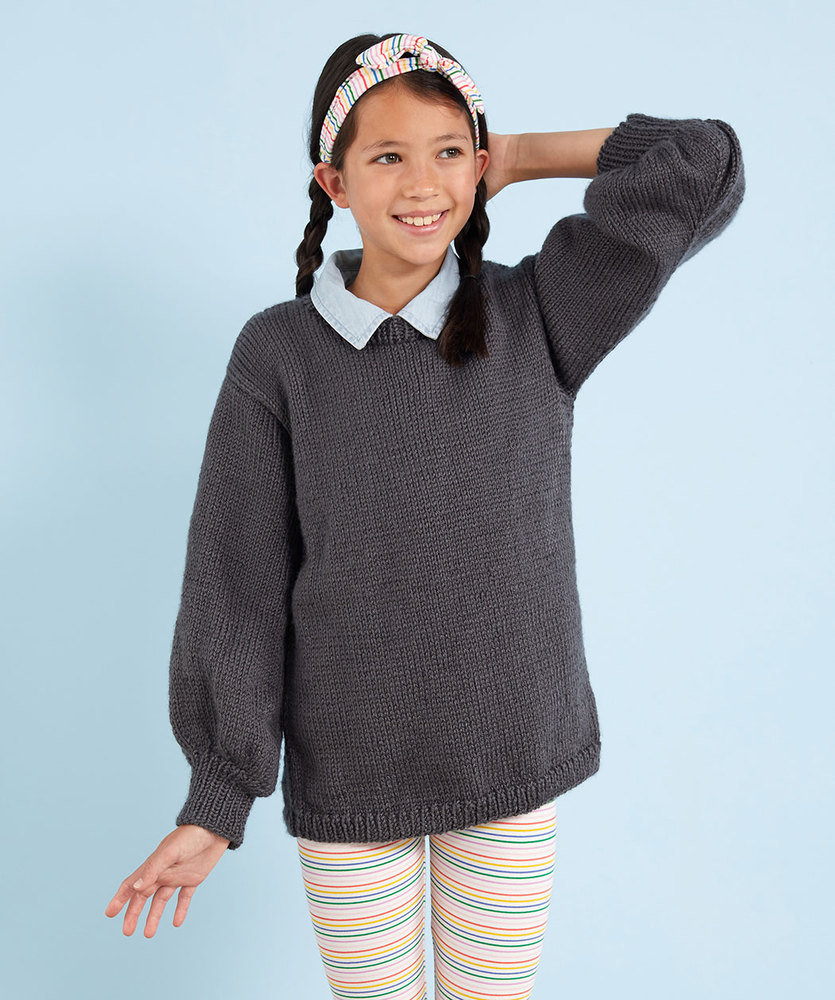
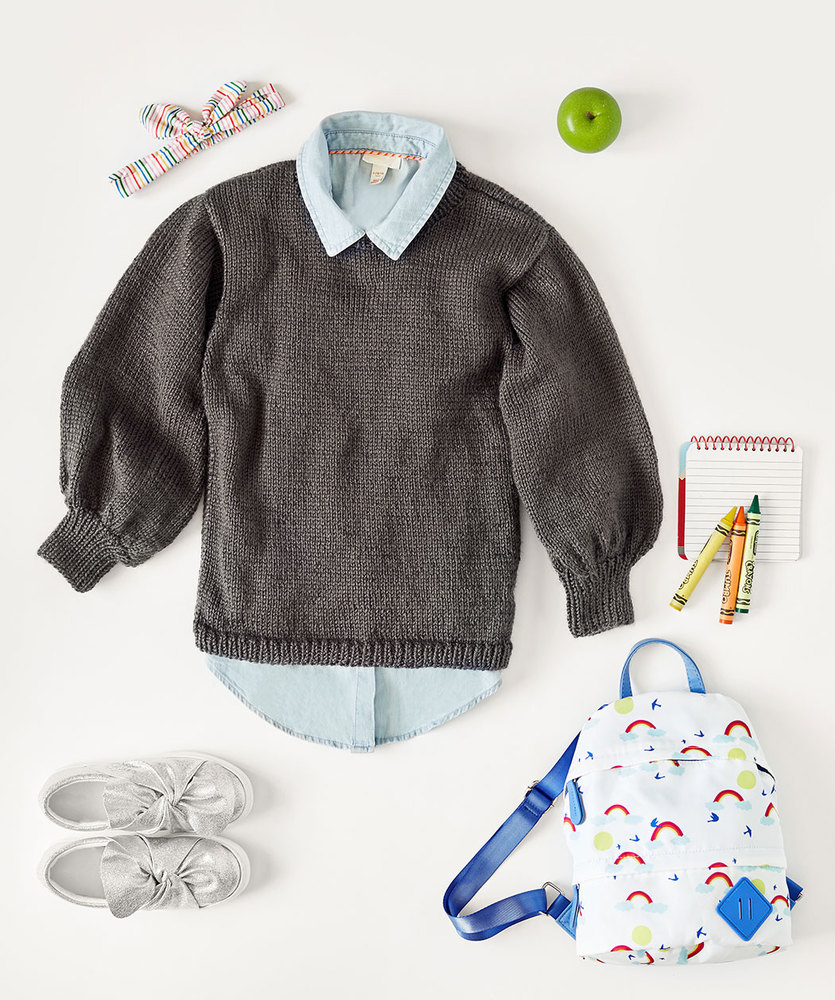
Free Knitting Pattern for a Child’s Bishop-Sleeve Sweater, featuring a classic design with a modern twist.
This knit sweater is designed for elementary school-aged children and features a relaxed fit with fashionable bishop sleeves. The body is worked in a simple Stockinette stitch, while the lower edges and neckband are worked in a 1×1 rib. The sleeves have a unique shaping that creates the “bishop” effect (fuller at the wrist and gathered into a fitted cuff). The sweater is knit flat in four pieces (back, front, and two sleeves) and then seamed.
This easy design features increases and decreases.
This pattern is rated as Easy. It primarily uses Stockinette stitch and 1×1 rib. The shaping involves increases (M1L, M1R, M1P) and decreases (k2tog, ssk), and picking up stitches for the neckband.
Skill Level: Easy (Stockinette stitch, ribbing, increases, decreases, picking up stitches, seaming)
Sizes: 6 (8, 10, 12, 14, 16) years
Finished Measurements:
- Finished Chest: 28 (30, 32, 33, 35, 36)” [71 (76, 81.5, 84, 89, 91.5) cm]
- Finished Length: 17½ (19½, 21½, 23, 24½, 26)” [44.5 (49.5, 54.5, 58.5, 62, 66) cm]
Materials Used:
- Stitch marker, yarn needle
- RED HEART® Soft®: 3 (3, 4, 4, 5, 5) balls 9010 Charcoal
- Susan Bates® Knitting Needles: 5mm [US 8]
Pattern Considerations:
- Gauge: 17 sts = 4″ [10 cm]; 24 rows = 4″ [10 cm] over Stockinette stitch. It’s crucial to check your gauge to ensure the finished sweater will be the correct size.
- Yarn Substitution: Use a worsted weight yarn, and ensure the gauge is met.
- Pattern Stitch (1×1 Rib): Instructions are provided for the 1×1 rib, which is worked over an odd number of stitches.
- Special Stitches: The pattern defines the following increases:
- M1L (make 1 left)
- M1P (make 1 purl)
- M1R (make 1 right)
- The pattern also defines the ssk (slip, slip, knit) decrease.
- Construction: The sweater is made in four separate pieces (back, front, and two sleeves) that are worked flat and then seamed together.
- Bishop Sleeves: The sleeves have a unique shaping. They start with a ribbed cuff, then increase rapidly to create fullness, and then decrease gradually towards the shoulder. Pay close attention to the increase and decrease rows in the sleeve instructions.
- Neck Shaping: The front and back necklines are shaped differently. The back neck shaping is done at the same time as the shoulder shaping, using two balls of yarn. The front neck shaping begins earlier and involves binding off center stitches and then decreasing on each side.
- Neck Edging: Stitches are picked up around the neckline and worked in 1×1 rib.