How to Crochet Sea Pennies by Julia Crossland
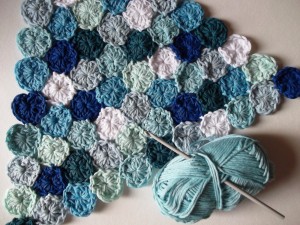
Today I’m going to share a short tutorial with you on how to crochet Sea Pennies!
I’m using Rico Creative Cotton and a Number 4 hook for mine, but you can use any wool and hook to get different sized Pennies (which is a nice idea for a chunky winter scarf methinks!).
The Pennies are really quite easy and created here using 12 Double Crochet stitches (US) and I’m sure some of you have already worked out how to do this, but anyway – here goes!
Let’s get started.
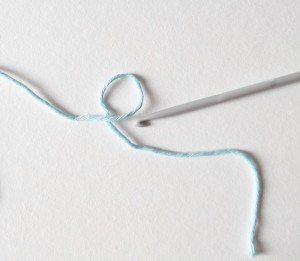
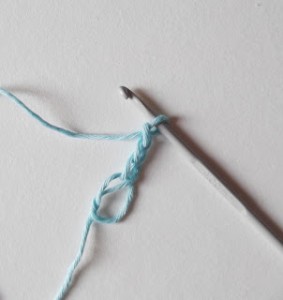
Make a loop with the yarn as shown above in the picture. We are going to be creating a Magic Circle so that there is no hole in the centre of our Pennies.
Leave a tail end of yarn about 4-6 inches long.
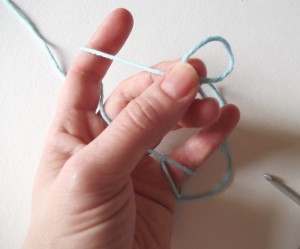
From the ball of yarn side, wind and secure the yarn as normal around your fingers, then take hold of the loop between your thumb and middle finger.
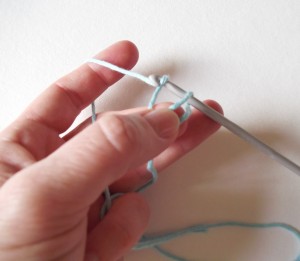
Take your hook and push it through the centre of the loop, pulling back a loop from which you will crochet 3 chain stitches.
So – recap – hook through the centre of the loop, pull through a loop then chain 3.
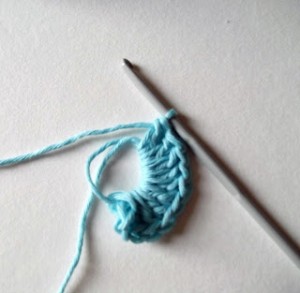
Then, into the centre of the loop, DC 10.
*Make sure you keep hold of the tail end of yarn with the loop bit of yarn when crocheting your stitches, don’t leave it flapping about in the breeze or you won’t be able to tighten the ring at the end to make the hole disappear. Look carefully at the photograph below to see that the tail end of yarn is together with the loop part within the stitch. (I do hope this makes sense).
Pull the tail very slowly to close the hole, then slip stitch to join the circle together. You should have 12 stitches around your penny now. Below is a guide for joining your first row of pennies together, and then how to continue with the rows you create beyond this.
So, first row of pennies: Make your nexrt penny. When you get to your 6th DC in the loop, you will need to join this stitch to the 6th stitch of the first penny (just count 6 around). To join as you go you will need to complete your 6th stitch on your current penny and insert your hook underneath the 6th stitch of the first penny.
Pull the yarn through the stitch (2 loops on hook)
Pull the second loop through the 1st loop to secure, like a slip stitch.
Continue with the rest of your DC into the loop as described for the first sea penny.
You will carry on in this way until you have a first row of Pennies from which to start building your work. The photographic instructions that follow are for Row 2 and beyond, where you have to join several sides of each Penny to the other existing Pennies.
You should at this point have 10 stitches on your ring (1 ch of 3 and 9 DC).
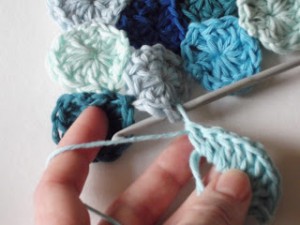
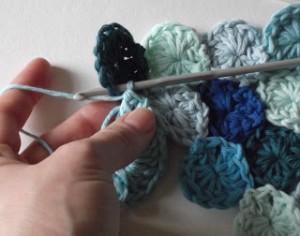
(For the sake of simplicity here, I’m going to pretend that I’m crocheting my second row of Pennies for you, and the dark teal and light blue pennies in the picture which I’m joining to are the first two Pennies on my first row. Just ignore the others in the picture for now – I promise it will make life easier for you 🙂
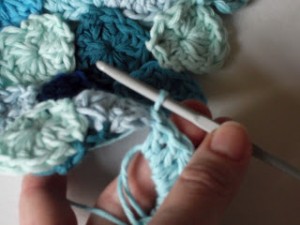
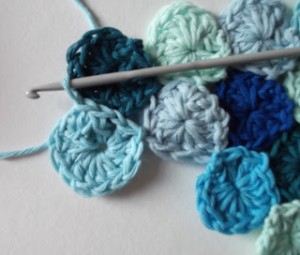
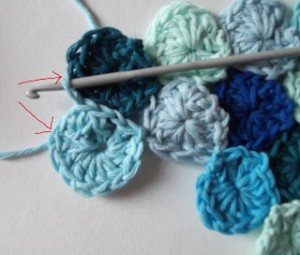
To join your newest Penny to the first row, you need to take the first two joined Pennies on the previous row (the light blue Penny and dark Teal Penny), count around 3 stitches on the light blue Penny from where it joins the dark teal).
Push your hook down under the stitch.
Pull the yarn up through the stitch – bit fiddly but do-able (2 loops on hook) and then pull the second loop through the first loop on your hook (as a slip stitch) to secure:
Next, do ONE DC into the middle of the Penny loop:
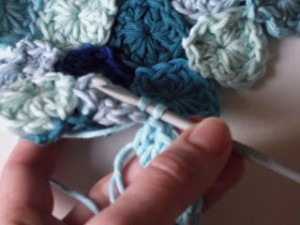
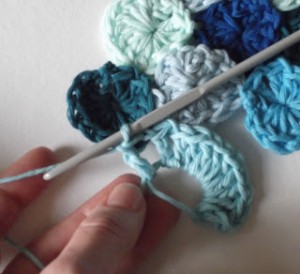
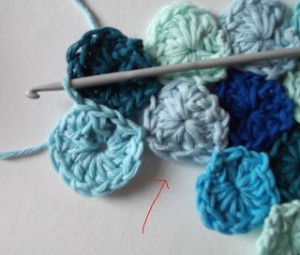
You are now ready to join the new Penny to the dark teal Penny of the first row. Again, count three stitches around from where it originally joined to it’s pale blue neighbour on the right and push your hook down through the stitch:
Pull the yarn up and through (2 loops on hook) and pull the second loop through the first loop on your hook (as a Slip Stitch) to secure.
Then do 1 DC into the centre (12 stitches total) of the new Penny.
Take the tail end of yarn and now gently pull it until the hole closes up tight like shown here:
It’s easier to close the hole before finishing off. Once you have done this, search out the 3rd stitch of the chain you first made and slip stitch into this to join the circle. Finish off in your usual way with a knot and then sew in the ends.
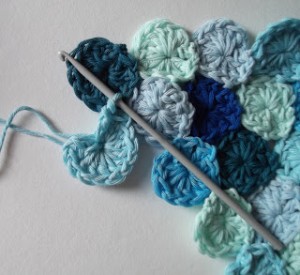
If you are making a triangle shape like I am for a shawl, you will need to repeat these instructions exactly to put a penny on the corner here:
When you need to start joining 3 sides of your new Penny to 3 existing Pennies like so…
…you will do it more or less the same again, except for the very last part – there will not be a DC to do after your final Join As You Go stitch, as you will have already completed this:
First Join As You Go stitch onto bright blue Penny, followed by a DC into centre (11 stitches)
Second Join As You Go stitch onto light blue Penny, followed by a DC into centre (12 stitches)
Third Join As You Go stitch onto turquoise Penny, followed by tightening the centre of the circle up, and SS to finish in 3rd Chain of first Chain.
It’s absolutely fine to do it like this and won’t make any difference to your Pennies. After your last Join stitch, pull the circle closed and then join the circle together with a Slip Stitch as described above.
via http://www.juliacrosslandart.com/2011/02/how-to-crochet-sea-pennies.html


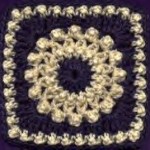
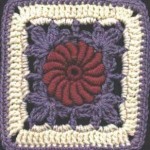
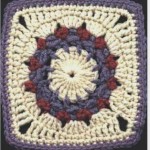
this is a really cute way to make a blanket, but i can’t figure out how to even start it cus it’s a tad bit confusing for me. So, i was thinking a video might be helpful to some viewers like me who learn things visually. 🙂